Monday 31 January 2011

Wow - busy January!


Well, sorry for my absence of posting, but I've genuinely had more exciting things to do!!! ;o) With turning 30 (this card made by the man in my life who is not a cardmaker - not bad eh?!), a weekend away with my friends, some amazing surprises including a weekend in the New Forest it's been rather busy - not forgetting now being engaged after a marriage proposal!!!
So you might start to see save the date cards, wedding invitations, place names and the like on my blog over the next year! I'll be back with a better update but I also had two craft classes last weekend so it's been hectic and exciting to say the least.

Friday 21 January 2011

Pretty folded pink card

This was a commissioned card for a 60th birthday so I thought it would be perfect for the new Sale-a-bration Sweet Summer stamp set. I've used one of the free stamps to create a background using Chocolate Chip ink, and then I've created the flowers in a similar way to before. I've used Old Olive ink for the stalks (stamped using a Stamp-a-majig so I could get it all lined up!) and then stamped the top of the flower in Chocolate Chip. See my step by step on a couple of posts below for how to colour the flowers.

The centre is a button with some card threaded through (to look like twine). And of course the lovely corner rounder punch for a nice finish.

The Sale-a-bration stamp sets that you get free are only available for a limited amount of time and you won't be able to buy them, so if you are feeling tempted make sure you get them before the offer finishes.

Thursday 20 January 2011

Punch Bunch Sale-a-bration Card

I haven't stopped playing with my Sale-a-bration free stamp sets yet - I'm onto my second set now and these are **really** easy to use as each one coordinates perfectly with one of the Stampin' Up! punches.
Here's the stamp I've been playing with - it's from the Punch Bunch set and matches with the scalloped circle punch. It's really easy to use too as you can stamp it all in one colour using an ink pad, or if you have the markers you can colour in different parts of the stamps with different colours. It looks very cool when stamped onto white card!

I've focused on blues for this card so I've used light Bashful Blue for most of the stamp and Night Of Navy to highlight just the words. Here's the finished mini cards I've been making!

Don't forget you can earn this stamp as one of a set, and there are four sets to choose from, one set free with each order of £45 or more from the Stampin' Up! catalogue.

Tuesday 18 January 2011

How to use a Stamp-a-majig

So have you ever wondered how to position your stamps so perfectly in line like everyone else manages?


As I've said before, I was not a keen stamper until I discovered Stampin' Up!. In fact, I really didn't like it much at all - it was far too messy and fiddly for a 'stick n go' girl like me! Then I discovered Stampin' Up and fell in love. Only there are alot of tricks of the trade and you only learn those over time - including me. That's when I discovered how to stamp straight and in line using a 'stamp-a-majig' - here is a step by step guide of one of my recent cardmaking efforts, including using one of these amazing little discoveries (stamp-a-majig).

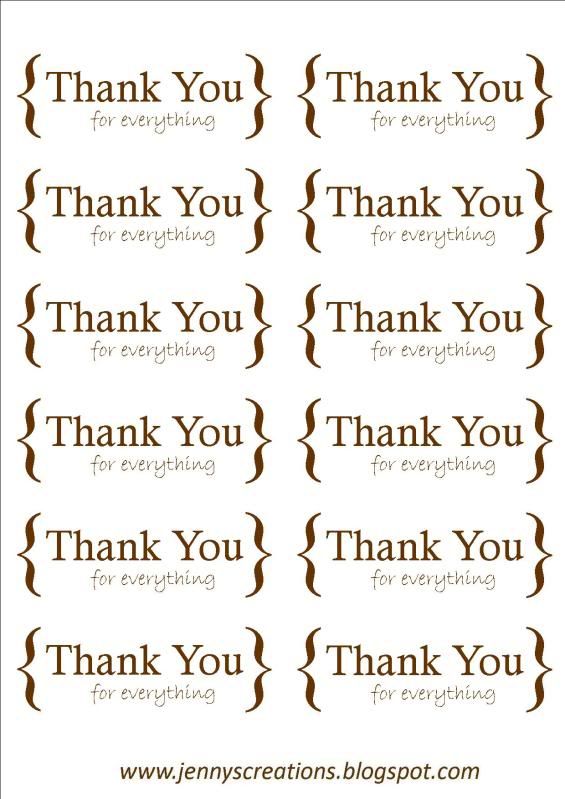
I'm using my 'Sweet Summer' (FREE) stamp set that you can earn free just as I did, and I've stamped with Chocolate Chip ink onto Whisper White card. This card is so lovely and crisp and clear compared to other white card, I love it. So I stamped the buds of my flower, then I needed to add the stalk, so that it lined up perfectly. How many times have you stamped a greeting and it's wonky?! Grrr, so annoying!

So to line your stamping up PERFECTLY every time - you push the plastic sheet up so that it sits in the corner presented by the black handle. Once there, ink your stamp and also place that in the corner of the black handle, and press down to stamp onto the plastic. This will help you to position your stamp next.


You will see it on the sheet - place the sheet onto your card where you want to stamp next (with the ink upwards) and hold it in place, so that you can then position the black handle by the corner of the plastic sheet. When you have it where you want, take away the plastic sheet, leaving the black handle in place, and again place the stamp in the corner of the handle and push down. When you take it away your stamp should be exactly where you positioned it with the sheet! Does that make sense? I didn't even know this gadget existed until I got really annoyed with my 'Trendy Trees' set as I couldn't get them to line up!

Next I used my marker pens to colour in my image, choosing which bits to leave blank.

Then again, I stamped onto my plastic sheet as above with a greetings stamp that I wanted to add, lined up the black handle, removed the plastic sheet and stamped down again (always reinking my stamp of course before the second stamp).

Perfect positioning!

I used a paper piercing tool to make holes in my strip of green card and then I attached the white stamped images and strip to a pink card blank.

To insert my ribbon I cut a slit in the spine of my card, threaded some ribbon through and tied it.

A simple glue dot on the back of a button, and placed into the centre of the flower and I was done.
If you have any questions on how to use a stamp-a-majig (or any others) leave me a comment and I'll respond. You can buy them through me from the Stampin' Up! catalogue if you realise now that you desperately need one like I did!

Sunday 16 January 2011

Last chance to book January craft classes

If you are thinking of attending my January scrapbooking and cardmaking classes don't forget that bookings close tomorrow!

You can sometimes book in at the last minute if I have spare materials for the kits, it depends what I have ordered in, so its worth checking but not guaranteed. See the details on the post below.
See you soon!

Thursday 13 January 2011

New January Classes - Birthday Cardmaking and Family Scrapbooking

**Book class places by Monday**

I hope you all had a very relaxing Christmas and enjoyed spending time with your family and friends. Now it’s back to reality, are you ready for some more crafting? I am! It’s a really busy time in the Stampin’ Up! world with the Sale-a-bration going on, and on top of that I’ve been working hard on two more classes for you...

Date: Saturday 29th January 2011

Place: Gidea Park or Barking (to be confirmed)


Birthday themed cardmaking class

This kit uses the fantastic ‘Party This Way’ new stamp set from the catalogue and I’ve had so much fun with this one already. You’ll be stamping, punching, cutting and tearing in this class and it’s a great set of designs suitable for any colour scheme.

Time: 11am – 1.30pm

1) Class and refreshments - £15
2) Class, refreshments plus your own birthday stamp set to take home - £30.95 (stamp set rrp - £15.95)


Family/Love themed scrapbooking class

This Simply Scrappin’ kit has the cutest pink, brown, blue and green colour scheme and we will be making two scrapbook layouts with this kit, leaving you with plenty more materials to take home and create with! You can make lovely cards with your spare kit too (we used a Christmas Scrappin’ kit for our Christmas cards!)

Time: 2pm – 4.30pm

Class and refreshments £15

Bookings close this coming Monday 16th January – this one has kind of crept up on me (as I’ve been too busy celebrating my birthday haha!) so that only gives you a few days to book your place and let me order all of the kits in! Deposits/payment in advance is preferred to secure your place please but can be arranged.

Don't forget that you can bag yourself a free stamp set with the current Stampin' Up! offer, I will have catalogues at the class if you want to place any orders or if you get your order in quick, it would be here in time for you to collect your free stamp set in the class!

Jenny x

Tuesday 11 January 2011

Sweet Summer


Here is another card made using the **FREE** Sweet Summer stamp set - I am really enjoying playing with this new stamp set, it's so pretty! I cased this card (in the Stampin' Up world that's 'Copy And Share Everything' which is encouraged!) but I can't find who I took the inspiration from now so if someone knows, I can credit them.
I've stamped the outline in Basic Black ink and then coloured in the flowers and stalks using Old Olive, Pretty In Pink and Cherry Cobbler. I've used some Old Olive satin ribbon ( I LOVE the satin ribbon!) and some Basic Black card which I punched out using the scallop border punch. Isn't it pretty but elegant with these colours?
Don't forget you can buy all of these items from the catalogue right now to make this card and earn this pretty Sweet Summer stamp set for free! Just order £45 or more from the SU catalogue and the stamp set is yours.
My second stamp set which I earned for free has arrived now so as soon as I've had a play with that I'll be sharing more inspiration here.
Jenny x

Wednesday 5 January 2011

Free 'Thank You Sentiments' Download

As promised, I wanted to say thank you for all your support and interest during 2011 and what better way to do that with something FREE? I've created some digital sentiments for you to download and use in your crafting... take a look:

I've created them so that you can fit as many on an A4 sheet to print as possible, noone likes to waste lovely card do they? You can print these onto ordinary paper, craft paper, any of your thin card that fits through your printer or even those special printer fabric sheets or clear sticker sheets - whatever takes your fancy. This set is all in brown - one of my favourite crafting colours!

And here (and above) are some deliciously simple ways to use them - all you need is some card and ribbon and you have a quick make card to hand at all times - perfect for those unexpected thank you's. This card below used the lovely Stampin' Up! taffeta ribbon (I just love the quality of this!) and a Stampin' Up! button and cardstock.

And one more, featuring one of my favourite punch tools - the corner rounder! I've used the lovely thick Stampin' Up! chocolate chip ribbon on this card.

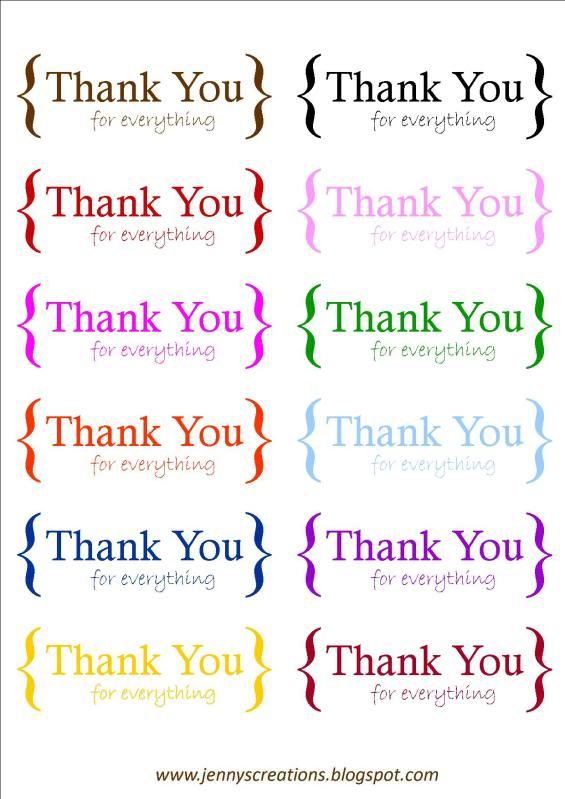
And if that freebie and inspiration isn't enough, how about them in some bright rainbow colours?


Click on the image for basic jpg files or email me on the address to the right to receive these files as high quality PDF's which you can print as A4 sheets again and again!

Please note - these are strictly for personal use only, any other use will require written consent from me.

I hope you enjoy these - do show me what you make with them, and you might even make it onto my blog!

Don't forget the special Sale-a-bration is now on with Stampin' Up! and you can earn a fantastic free stamp set (or four!) just by spending £45 in the catalogue, how tempting is that?

Monday 3 January 2011

Pretty summer flower card using my free stamp set

Would you like to earn this stamp set for FREE and make this beautiful card? You can because it's Sale-A-Bration time! See my post below or click here to find out how you can choose from one of four complete stamps sets, absolutely free. I had my first free set early as a demonstrator (oh the privileges!) and I've already put my second in a few days ago as its such a good offer!

Supplies:
Pretty In Pink, Old Olive and Whisper White card
Old Olive ribbon
Old Olive, Chocolate Chip and Cherry Cobbler marker pens and ink pads
A Brights collection button and twine
Sweet Summer stamp set (FREE)
Curvy Verses stamp set